Direct to Fabric Printing for Events, Signage, and Custom Textiles
Full-color designs printed directly onto fabric. Soft to the touch, sharp at any size, made for backdrops, banners, table throws, and custom textile projects.
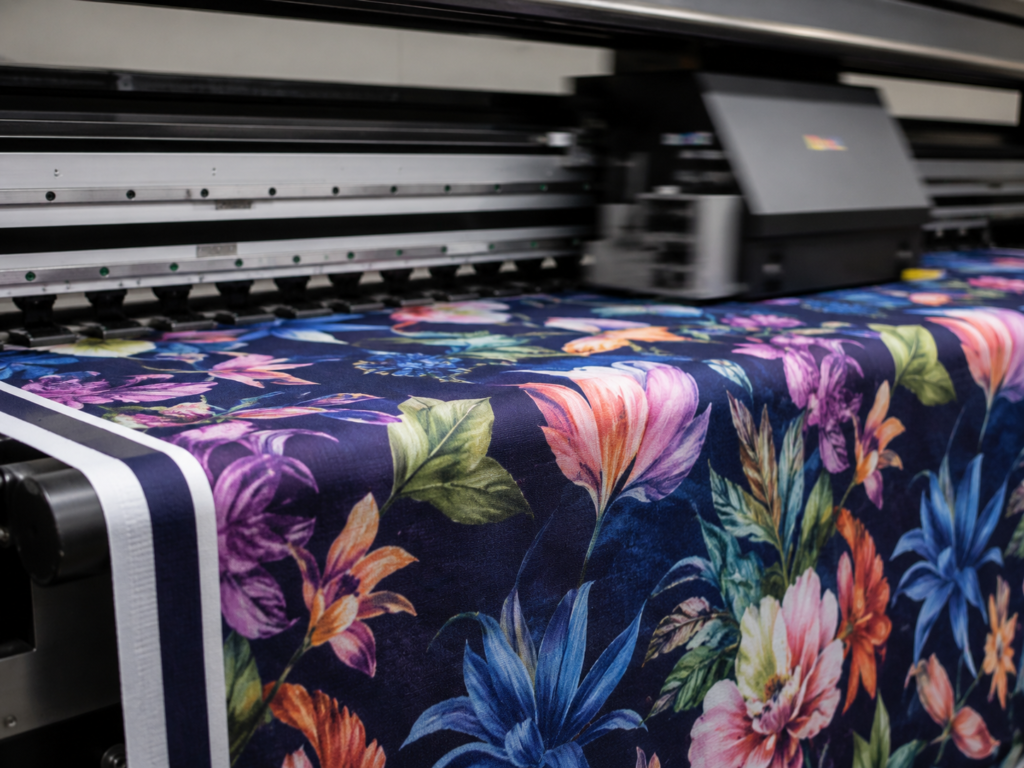
Direct to Fabric printing puts your design straight into the fabric. There is no laminate, no transfer, no plastic feel. The ink becomes part of the textile, which means it stays soft, breathes naturally, and holds color at large scale.
Best for projects where the finish matters as much as the print:
Soft hand-feel that drapes and moves like real fabric
Vivid, full-color detail that stays sharp at any size
Water-based inks, a cleaner choice for indoor environments
What We Print
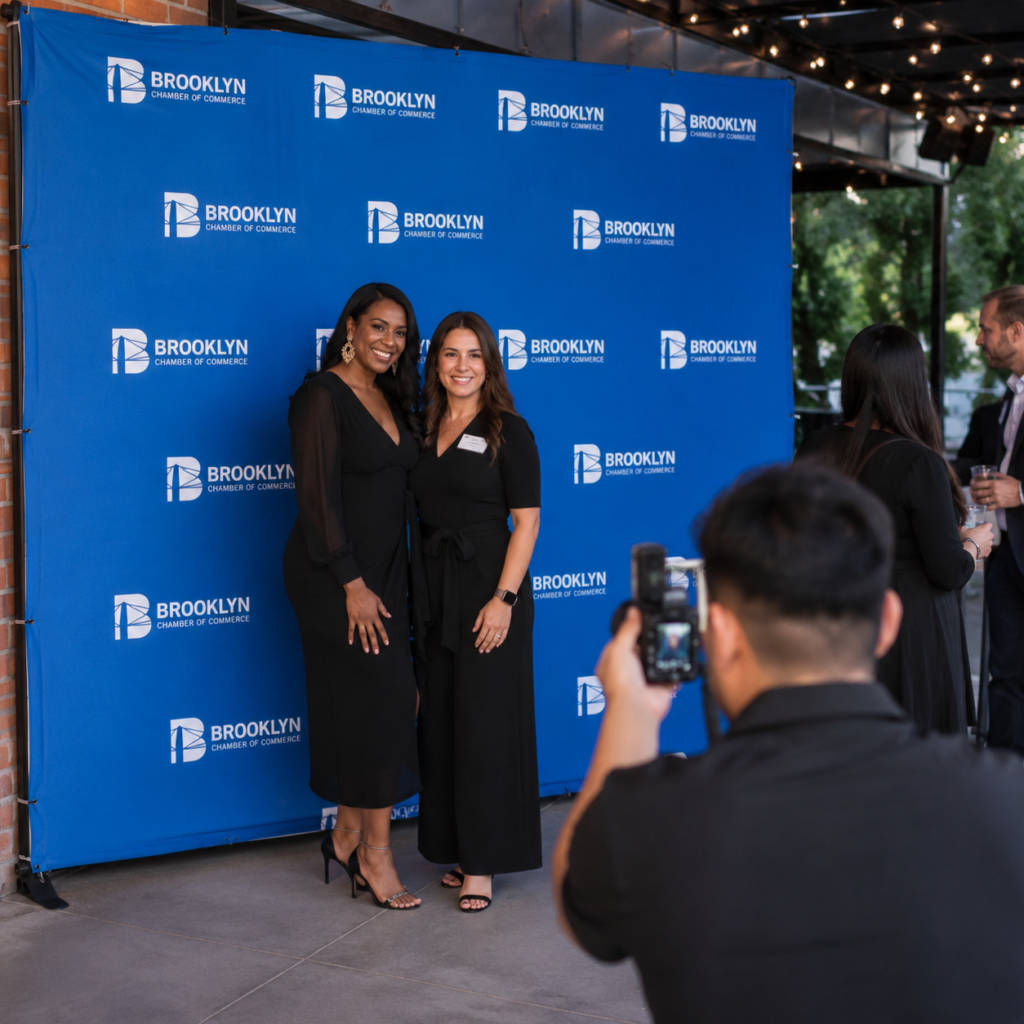
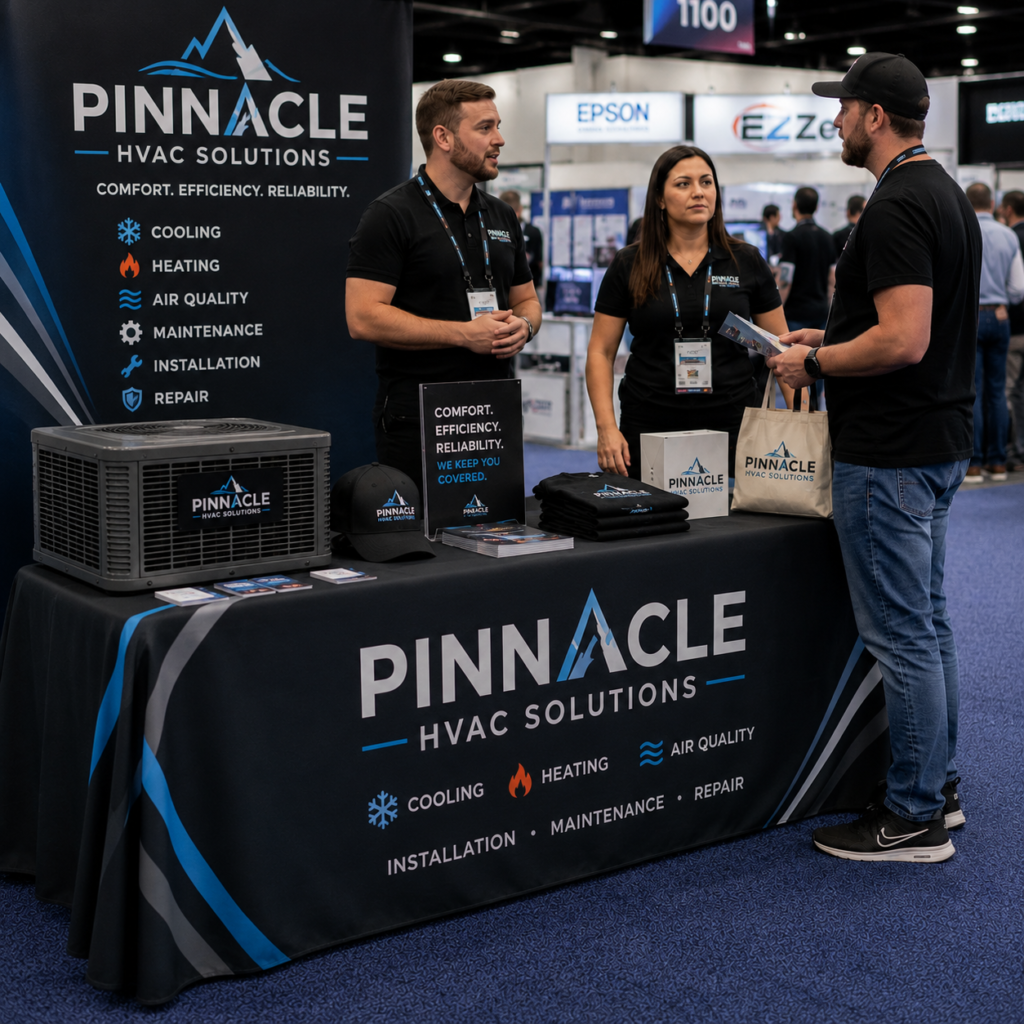
Events and Trade Shows
Step-and-repeat backdrops, pop-up displays, table throws, runners, and booth signage.
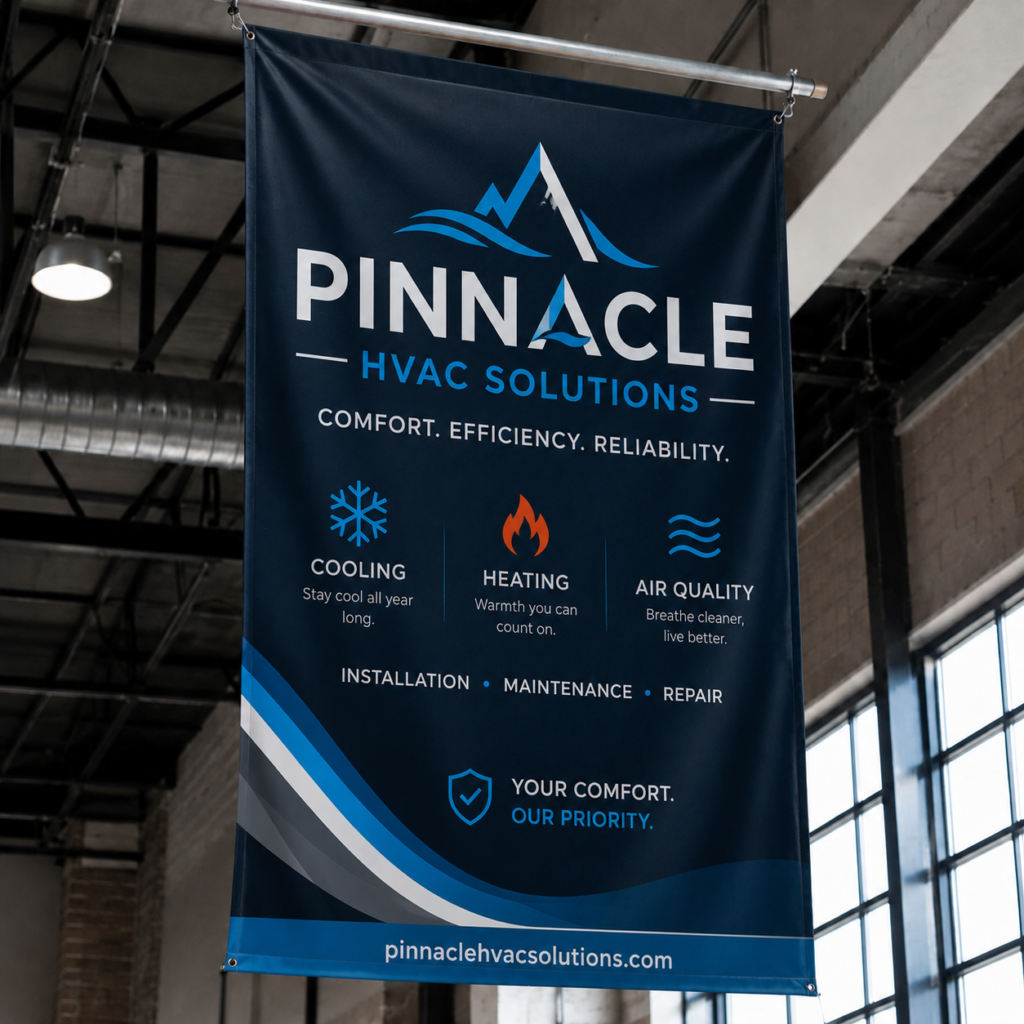
Signage and Display
Indoor banners, flags, retail fabric signage, hanging displays, and decor for activations.
Custom Textiles
Printed yardage, custom fabric panels, and made-to-spec textile work for design projects.
Specs at a Glance
Print width
Up to 6 ft.
Length
Continuous roll printing
Materials
Cotton
Finishing
Hems, grommets, pole pockets, custom cuts
Turnaround
10 to 14 business days
Why DirectPromos
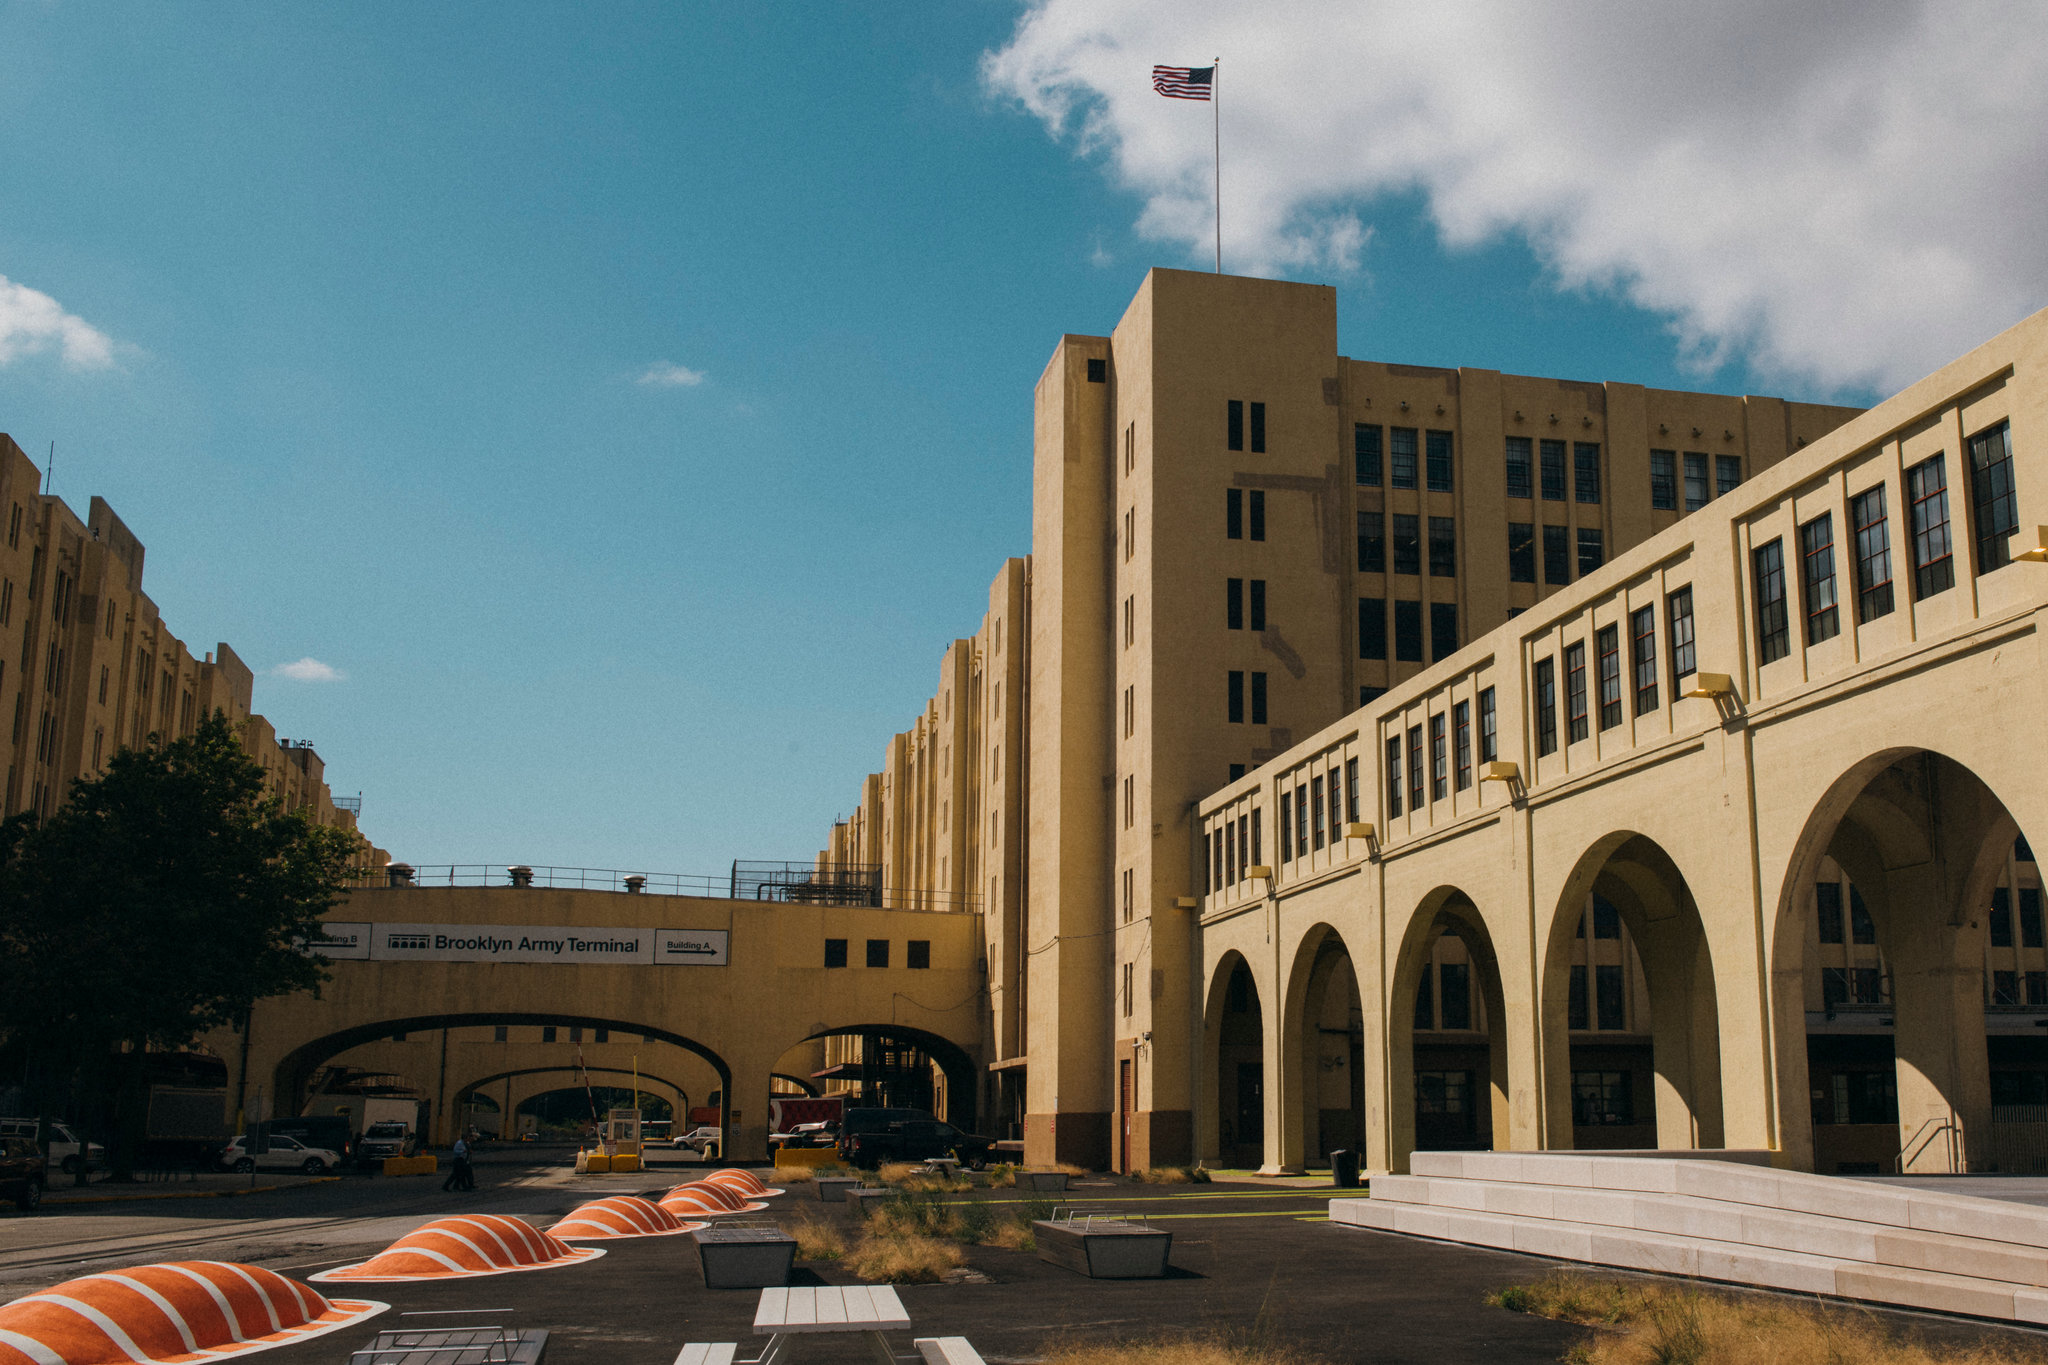
We have printed for NYC schools, businesses, and events for years out of our Brooklyn Army Terminal facility. Every order is produced in-house, which means faster turnarounds, tighter quality control, and a real team to call when you have a question.
22+ verified Google reviews from customers across New York.
Got a project? Let us build it.
Send over your specs, dimensions, or rough idea. We will reply with material recommendations, a finishing plan, and a quote.